In the Lab - Tektronix TDS 420A Oscilloscope
Nothing super noteworthy here. I plan to do a bunch of little projects with this, so this serves as the introduction, and as a place to list reference material: links to documentation, videos, etc. posts, …
- Introduction
- The Tektronix TDS 420A in Brief
- The Leaking Electrolytic Capacitor Problem
- Option Hacking to 120K?
- Documentation
- Various Related Youtube Videos
- To Be Continued…
Introduction
I’ve been playing around with the code of glscopeclient lately, and I wanted to fix a major gap in the list of supported equipment: Tektronix oscilloscopes.
I can’t say that there was really urgent need for it, but let’s justify it by the fact that I’ve been using Tektronix scopes at work, and maybe, one day, I’ll need the kind of processing that glscopeclient provides?
Another driver was the fact that I suspected that a Tektronix scope would be better at handling data transfers than my Siglent oscilloscope which spends 80% of the time on preparing the data for transmission and only the remaining 20% on the transmission itself.
I had a look at the Tek programming manuals, and over the years, nothing much has changed in terms of SCPI command set. So the idea was: make it work on something old, and it will probably magically work on something new as well.
My requirements were simple:
-
it needed to have a remote control interface. For an old scope, that means GPIB.
There are quite a bit of TDS2xx and TDS3xx series scopes on eBay that don’t have a GPIB port, so be careful about that if GPIB is on your wants list as well.
-
it had to work.
There are many listings on eBay with issue. Usually, they’re listed, but sometimes you’ll only notice them by looking at the diagnostics screenshots.
-
it had to be (relatively) cheap.
I had already been monitoring eBay for cheap Tek scopes, when I noticed this one:
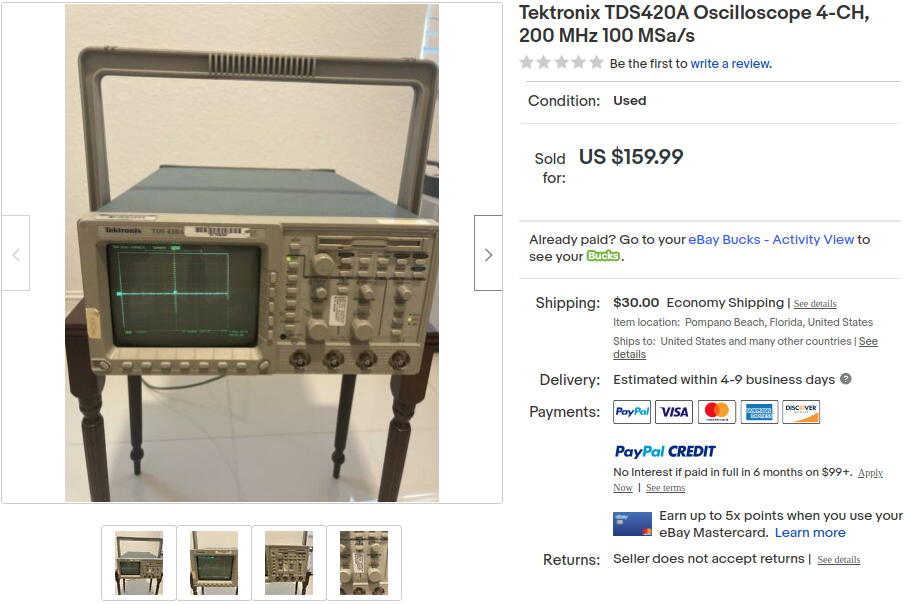
The Internet is full of stories of people who were able to find $50 bargains of allegedly broken scopes that worked with only a bit of work, but $160+30 shipping is really not a bad price for a scope that’s not only listed as working, but one that had been calibrated only little more than a year ago!
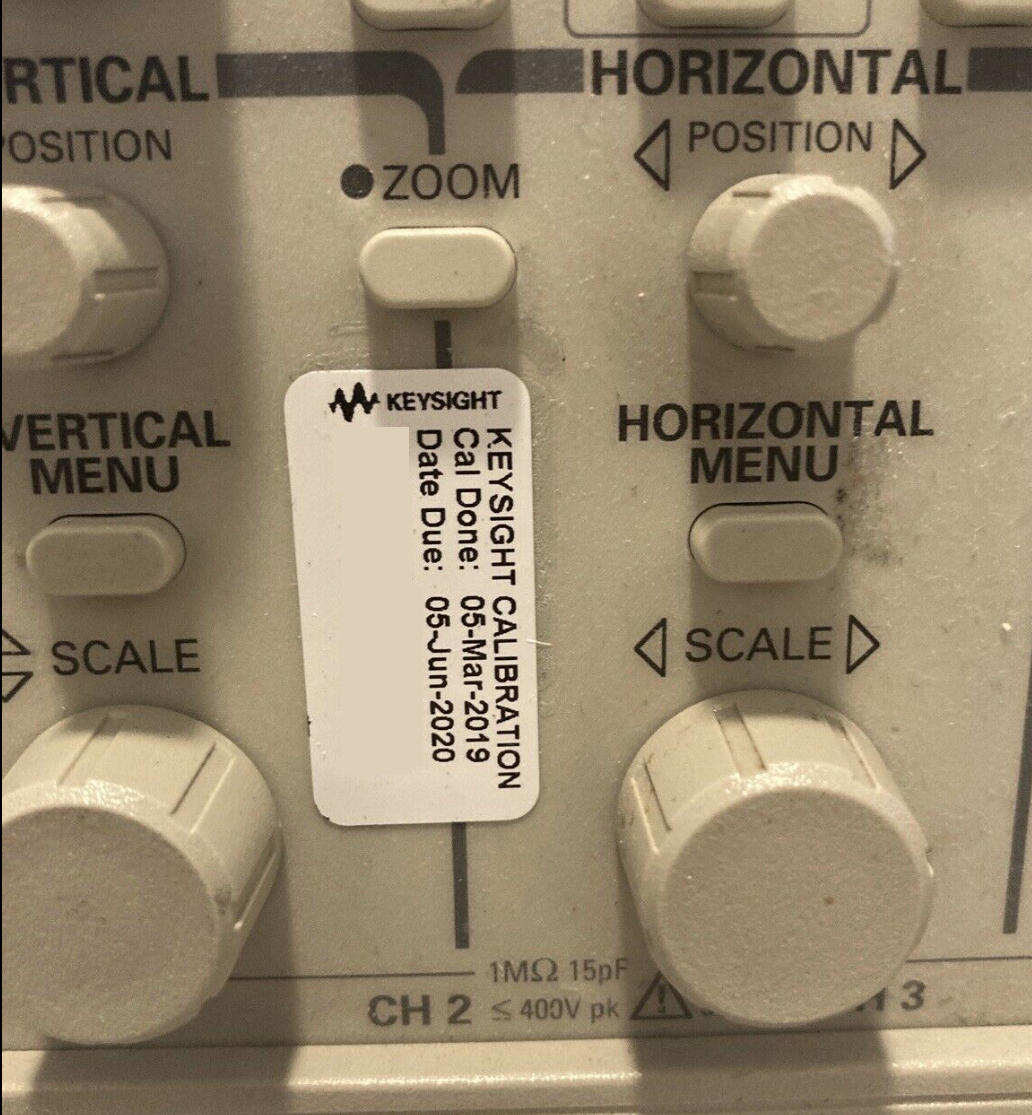
A week later, the goods arrived.
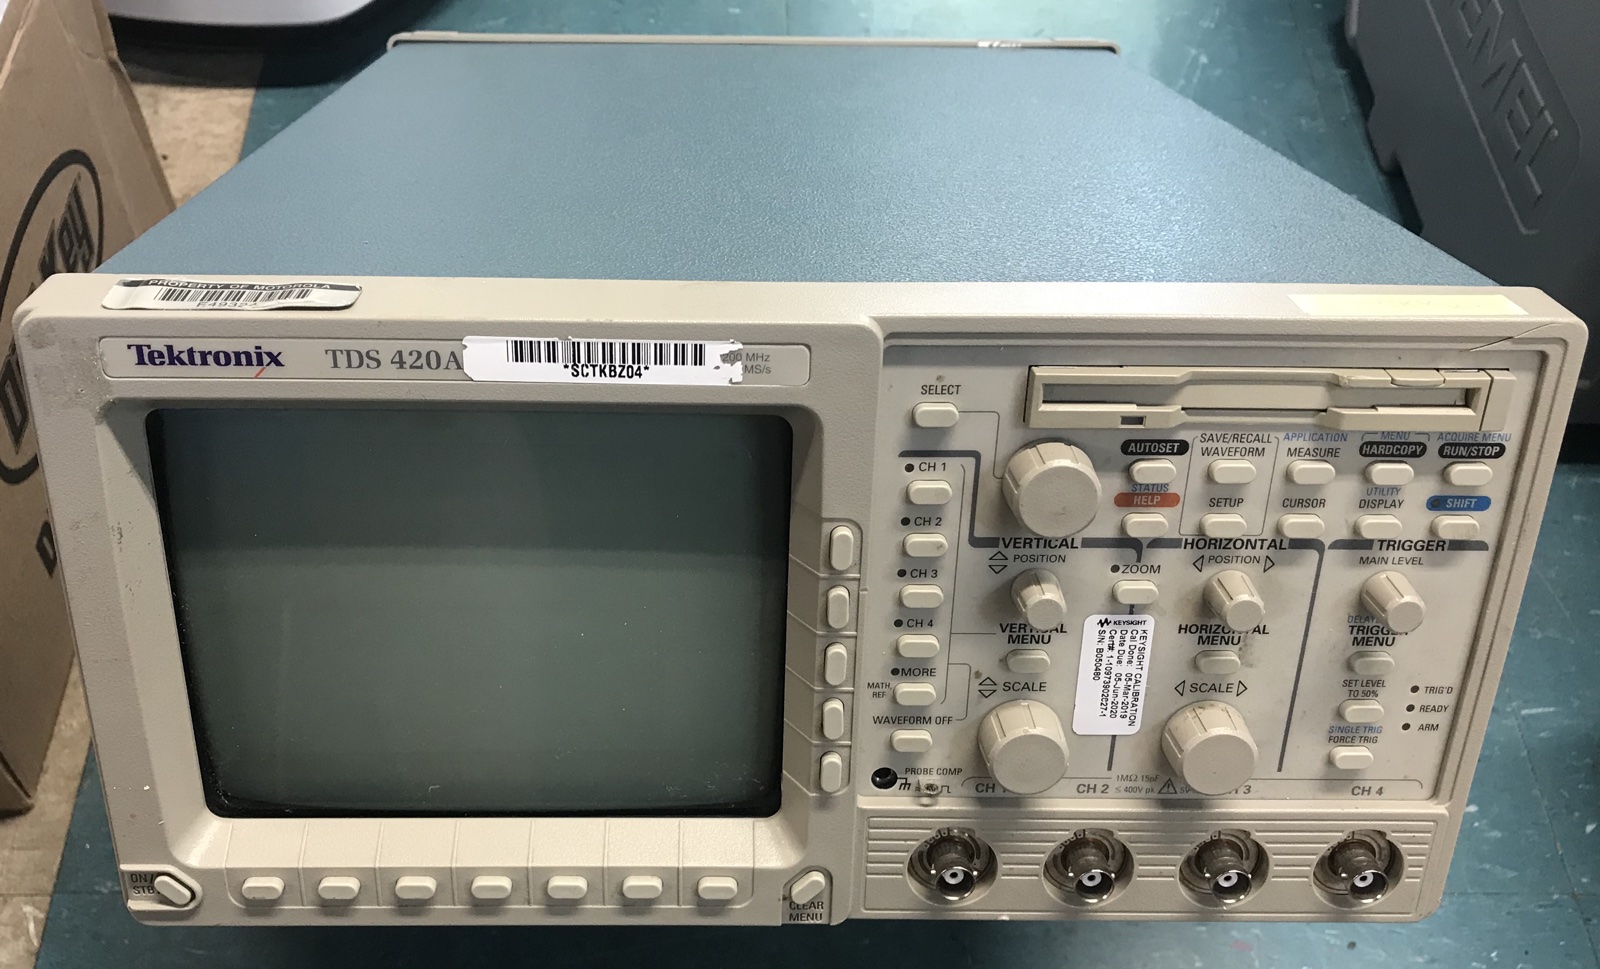
It still had the “Property of Motorola” inventory tag attached, and 2 “RICKY J” labels. Ricky: the scope is in good hands!
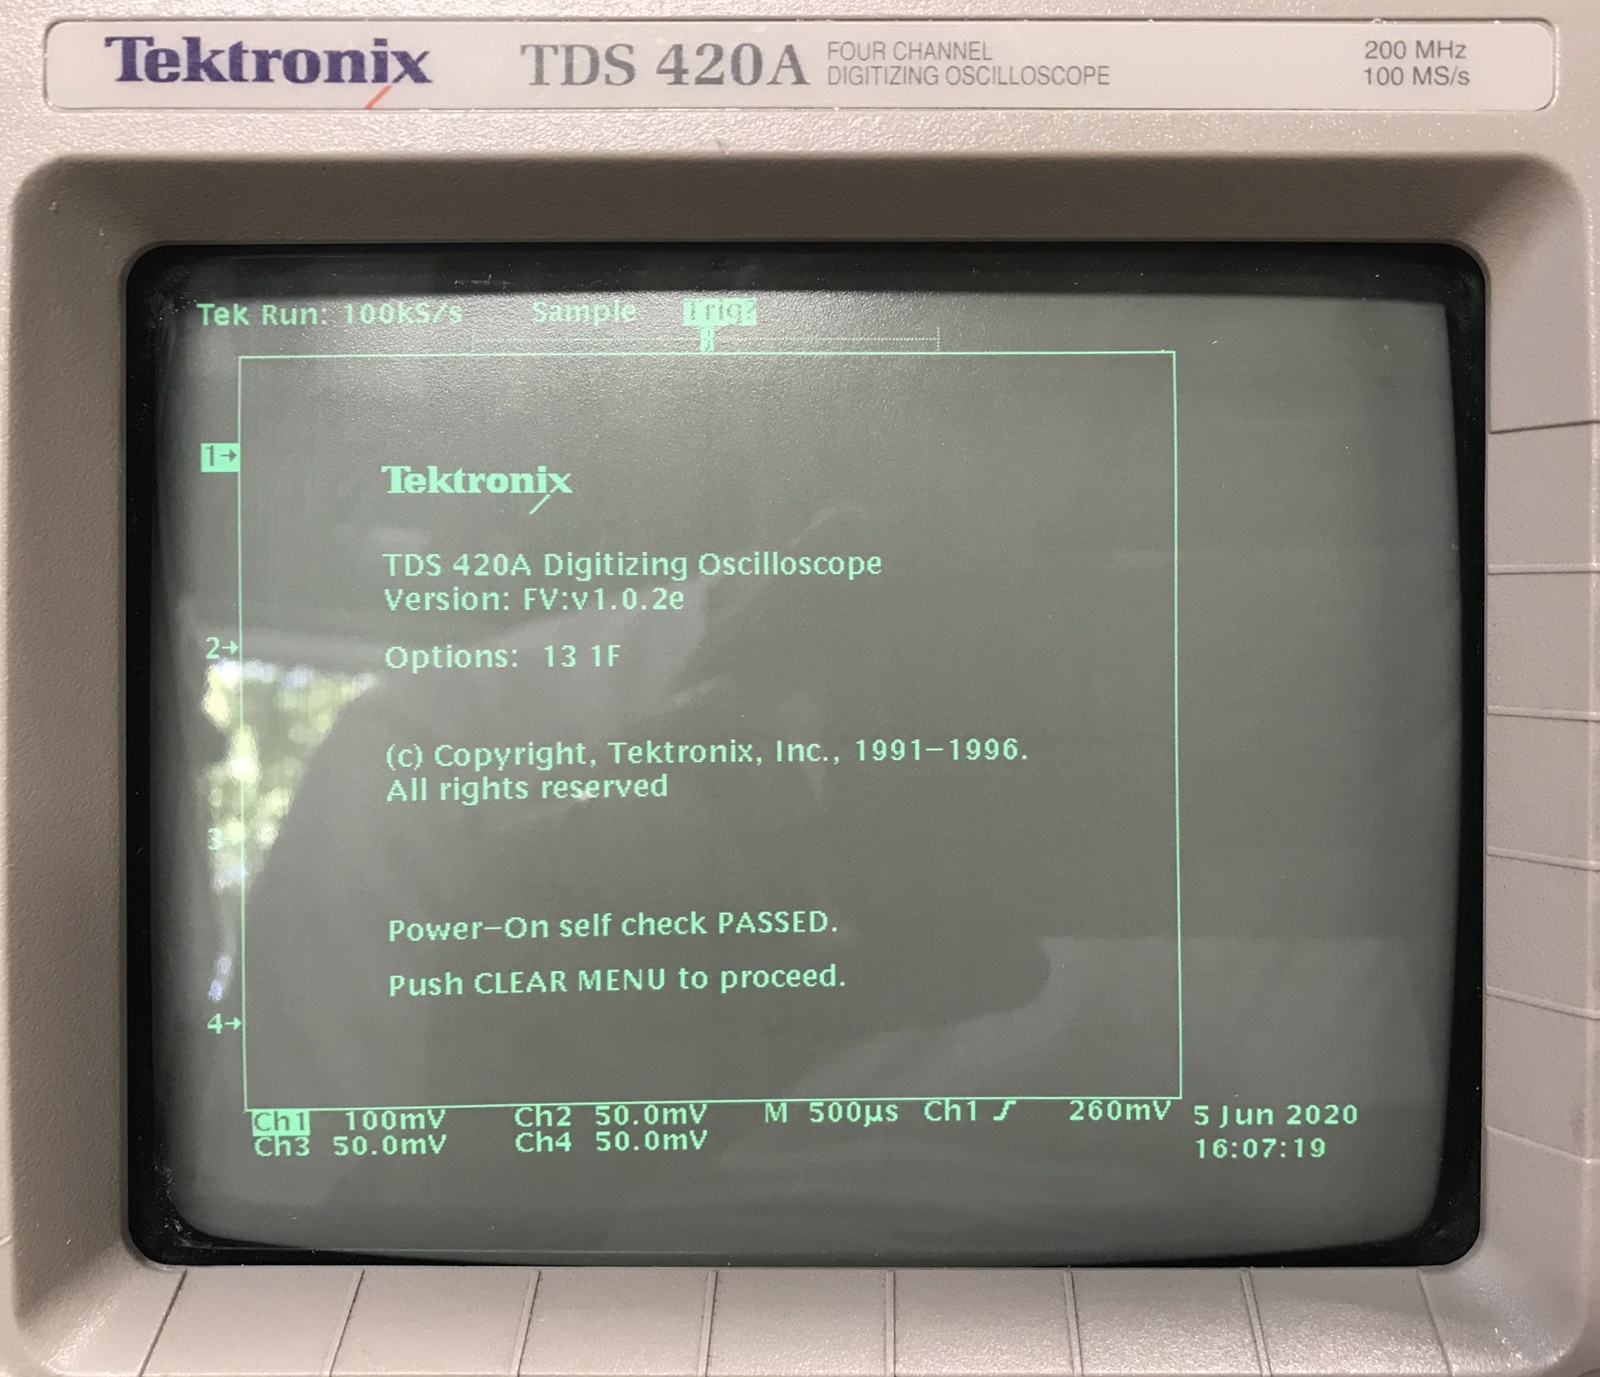
The eBay listing didn’t have the customary bootup screen, but whatever worries I had were unfounded: shortly after powering up the scope, I was greeted with the “Power-On self check PASSED” message.
The Tektronix TDS 420A in Brief
Released in 1991, the TDS 420A is almost old enough to have teenage children by now! But despite its age, anybody who has worked with more recent Tek scopes will feel right at home: the user interface is nearly identical. That doesn’t mean that the UI is great, it’s not, but at least it’s consistent.
Here’s a quick overview of the TDS 420A. The user manual provides much more detail, of course.
-
4 channels
This is my number 1 requirement of any scope. 2 channels is just not enough for many cases.
-
100MS/s sampling rate
Let’s be honest: this isn’t fantastic. Even low-end FPGAs can routinely run logic at 100MHz speeds and up, so forget about capturing these kind of signals.
On the other hand, it’s more than sufficient to debug your typical lower speed signals, such as RS232, I2C, VGA etc. When I think about my personal use, the vast majority of my time, this rate would have been sufficient.
There are 4 parallel digitizers, so the sample rate won’t go down as you enable more channels. (Unlike, say, some Siglent scopes.)
-
200 MHz BW
It’s not super common to have a BW that’s higher than the sampling rate, but once you exceed 100MS/s rate, the scope switches to equivalent time sampling mode, which allows you to capture higher BW signals in detail as long as they are repetitive.
-
Up to 30000 sample points
My Siglent scope captures up to 140M samples, but 30K is sufficient to get a lot of work done. I rarely use the 140M setting because real-time acquistion can become too slow to feel responsive.
Like the sample rate, the number of sample points doesn’t go down when you enable more than 1 channel.
-
Size: 15” wide, 18.5” deep, 7.5” high
My bench is 24” deep and always full of stuff. 18” is hard to swallow.
-
7” monochrome CRT screen
Perfect for that 1980s Hercules graphics nostalgia! You can set different intensities for the UI elements and waveforms. The display is fine for what it is, and after playing with it for a couple of hours, it doesn’t bother me at all.
-
VGA Output
The VGA output is monochrome green, just like the CRT itself.
-
GPIB interface
Essential for me, since the whole point of buying it is the abitilty to remote control the scope.
One major negative of buying old scopes is the lack of Ethernet or USB port for remote control.
The price of GPIB to USB interface dongles is pretty high: except for cheaper UGPlus ones that aren’t supported by any Linux driver, you’ll be paying at least $65 for an Agilent 82357B on AliExpress.
-
Other features
- Waveform zoom
- X/Y display
-
Limit checks
This checks that an acquired signal falls within a predefined guardband.
Options present on my scope:
-
Option 13: RS-232/Centronics Hardcopy Interface
The wonderful option 13 allows me to connect a variety of printers, such as an HP Thinkjet or an Epson dot matrix printer, via a RS-232 cable or a Centronics parallel cable straight to the scope and make beautiful printouts of whatever is one the screen. Amazing!
The RS-232 port supports a baud rate of up to 19200 and only supports the hardcopy feature. It does not support remote control.
-
Option 1F: File System
It has a floppy drive! I’ve seen kits on eBay to replace the floppy drive with a USB flash drive, but there’s just no need for that when you can transfer the data straight from the scope to the PC.
Some other options, not present on mine:
-
Option 1M: 120000 sample points
A very nice step-up from the default 30000.
Additional sample points are especially useful when you want to record waveforms that will be used for protocol decoding.
-
Option 2F: Advanced DSP Math
In default configuration, the only math options are add, subtract, and invert.
This option adds a number of additional operations such as differentiation, integration, and FFTs.
The idea of glscopeclient is to move these kind of operations from the scope to the PC, but it’s still neat to be able to do that on the scope itself.
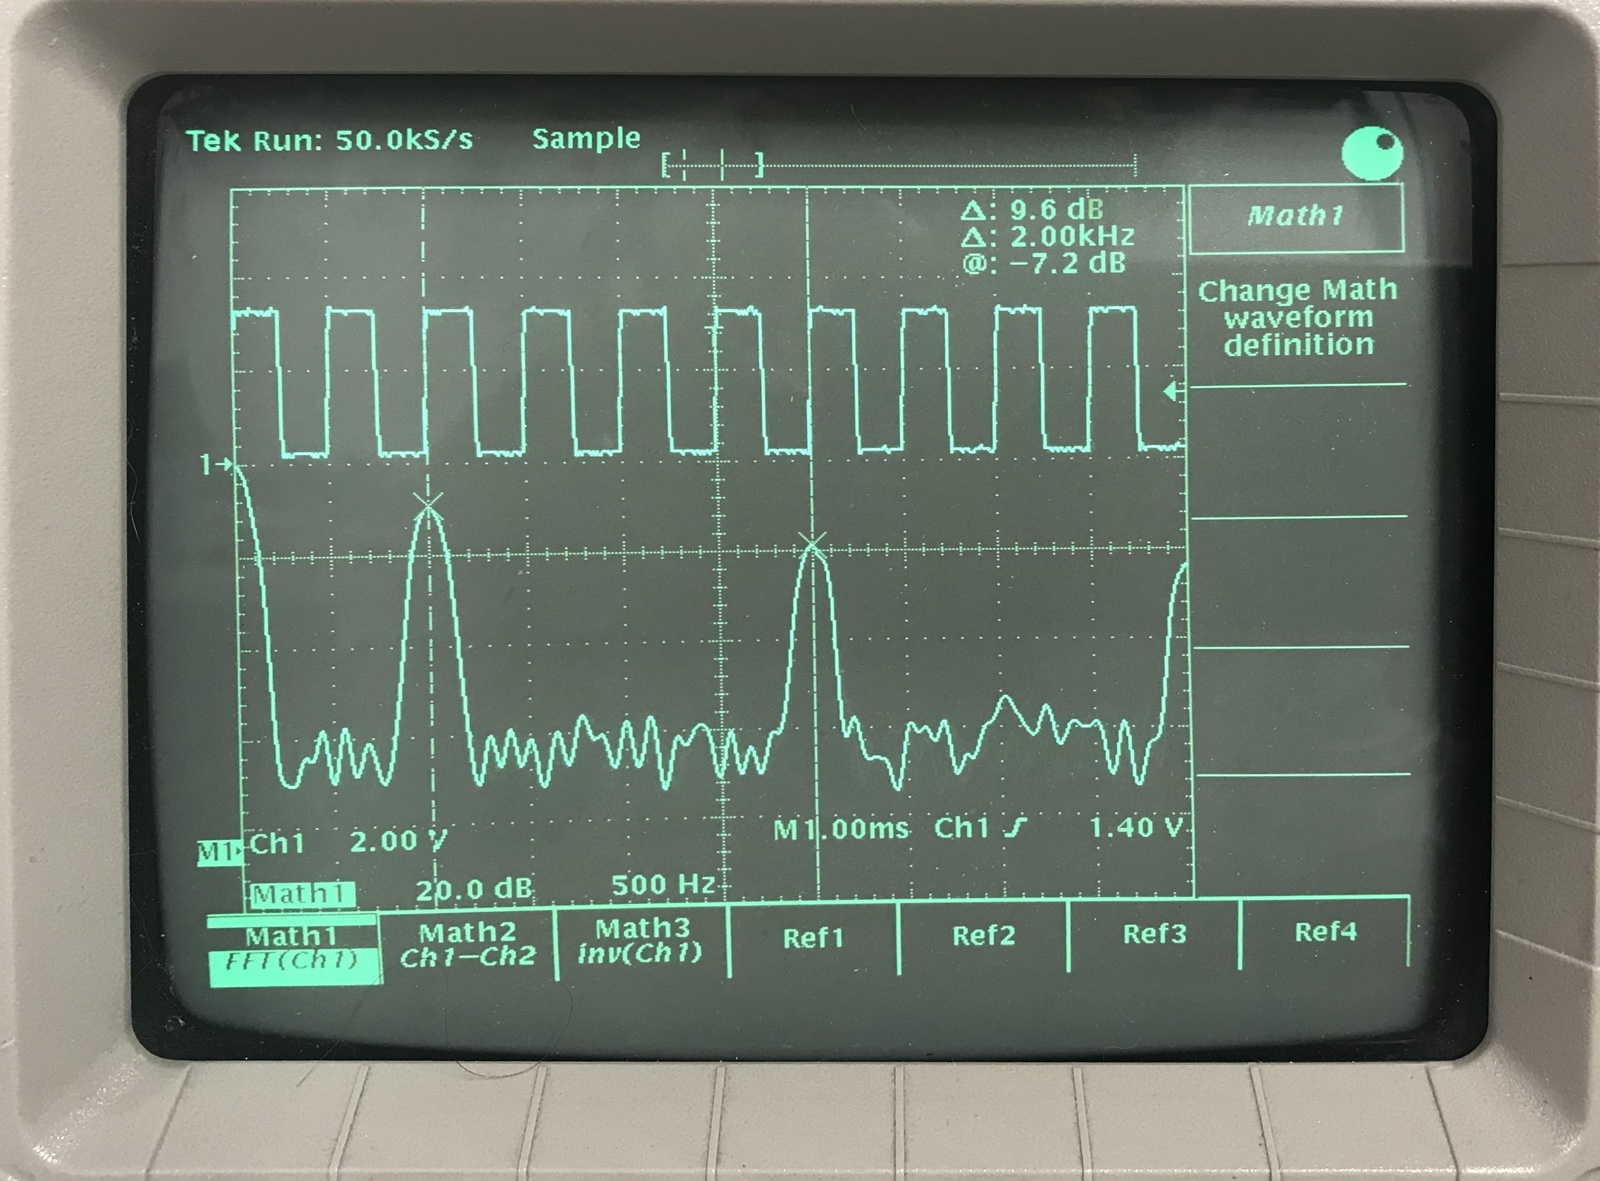
(Yes, this is a little teaser…)
-
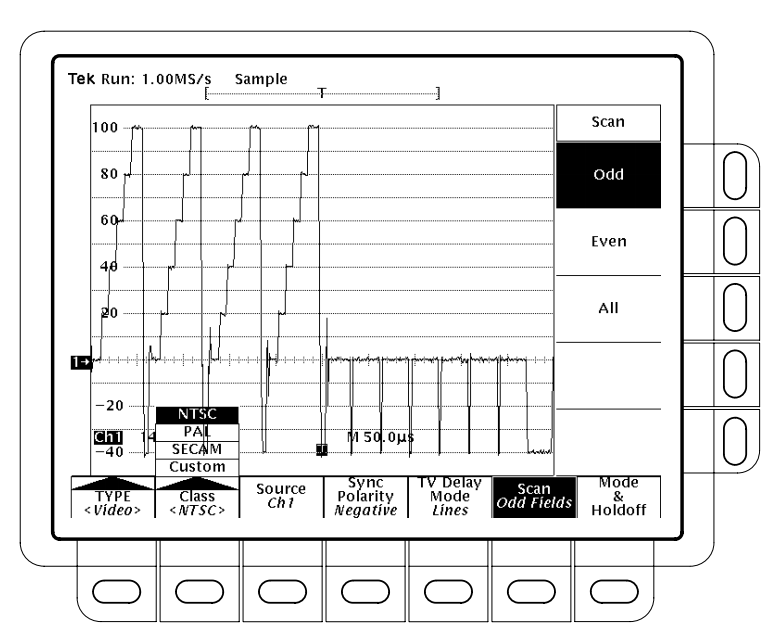
Option 05: Video Trigger Interface
This option support triggering on various conditions for video signals like PAL and NTSC.
Given such a video signal, you can trigger on a specific line, even or odd fields etc.
In today’s world, this feature is completely obsolete, but if you feel like repairing an equally old school CRT with an old school oscilloscope, this might be just the thing for you!
The TDS 420A is an upgrade of the TDS 420. The most notable differences are the bandwidth, upgraded from 150 to 200 MHz, and the number of sample points, upgraded from 15k/60k to 30k/120k.
The Leaking Electrolytic Capacitor Problem
When looking around the web for information about the TDS 420A, you’ll find a bunch of videos about how to repair them by replacing electrolytic capacitors.
This is a big issue for many vintage early-1990s electronics boards: the SMD electrolytic capacitors eventually start leaking. There are 2 problem with that:
- the caps lose their capacity
- the electrolyte is corrosive: it can eat away PCB metal traces which will make the scope non-functional
In many cases, the display will still work, and, after powering up, the scope will list which sections of the electronics are failing after its internal self check.
The general advise for anybody who buys such an old scope is to replace all caps.
I was fully prepared to have to go through the process of replacing close to 100 caps, and while waiting for the scope to arrive, I watched a bunch of videos about how to go about it.
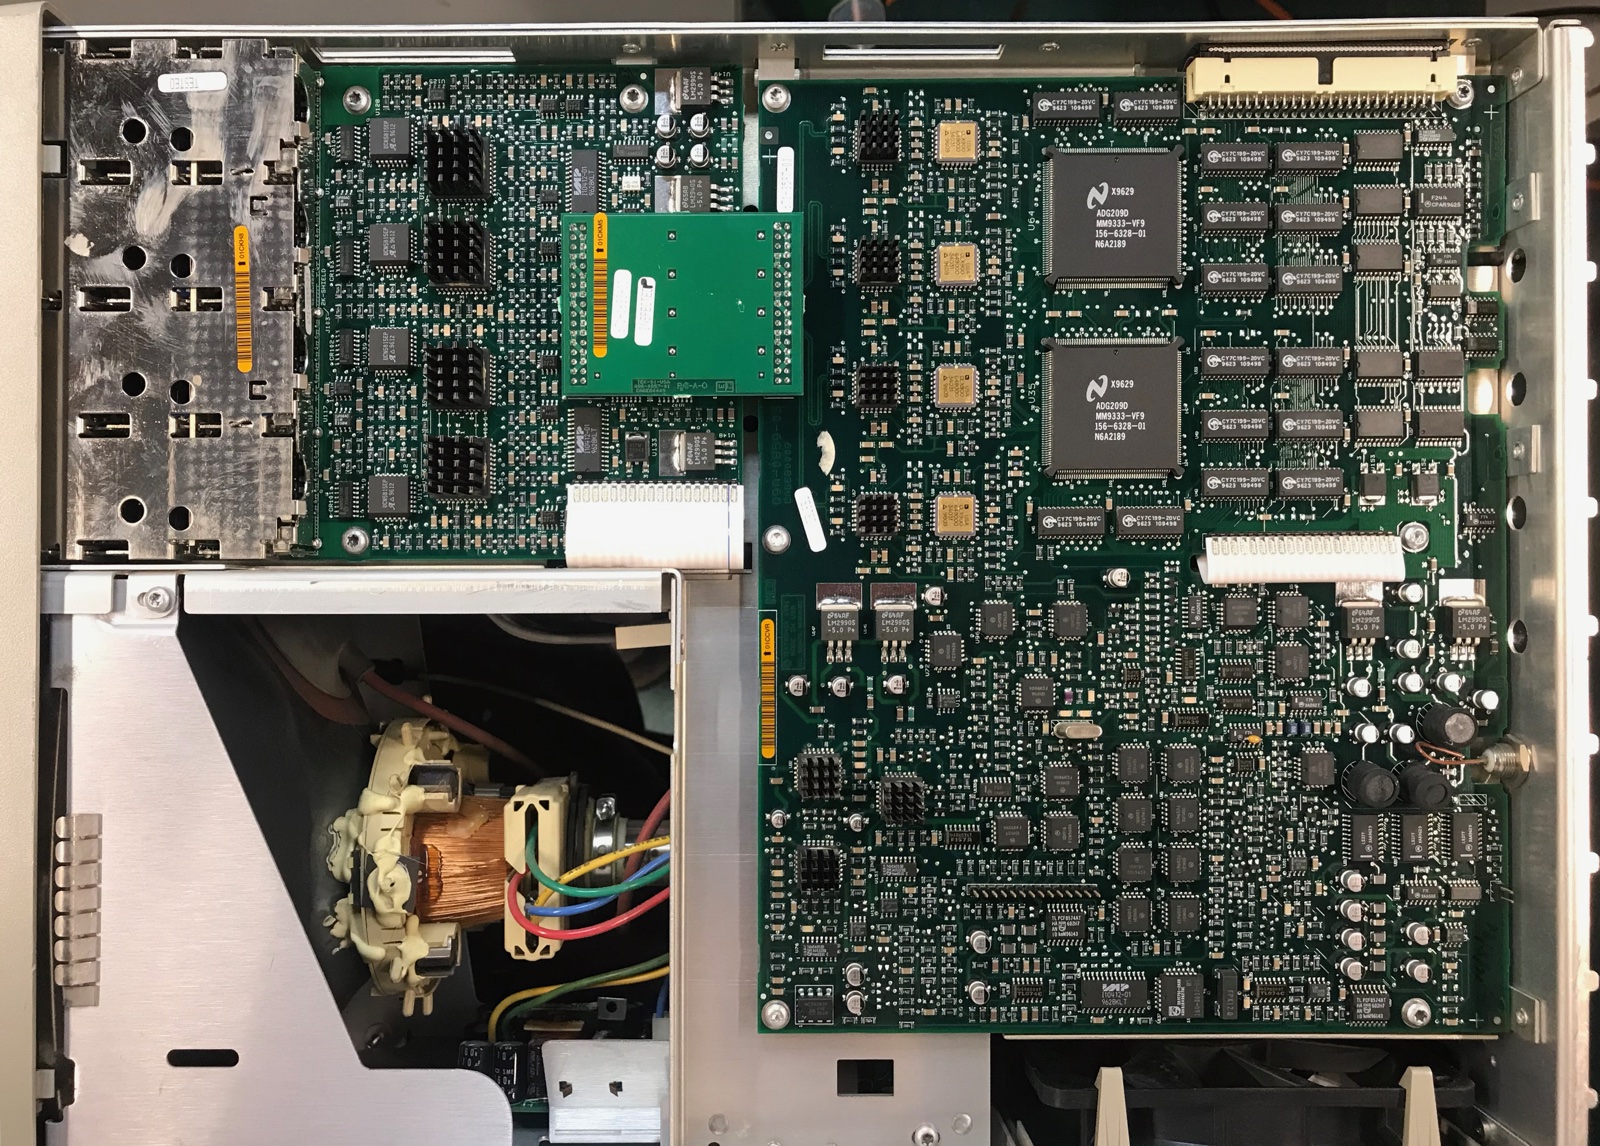
After receiving mine, I took off the enclosure to check out the damage, and I found an absolutely pristine acquisition PCB. The solder contact points are bright and shiny (leaded solder!) and there’s barely any dust.
Even better: there’s no leaking electrolyte whatsoever around caps:
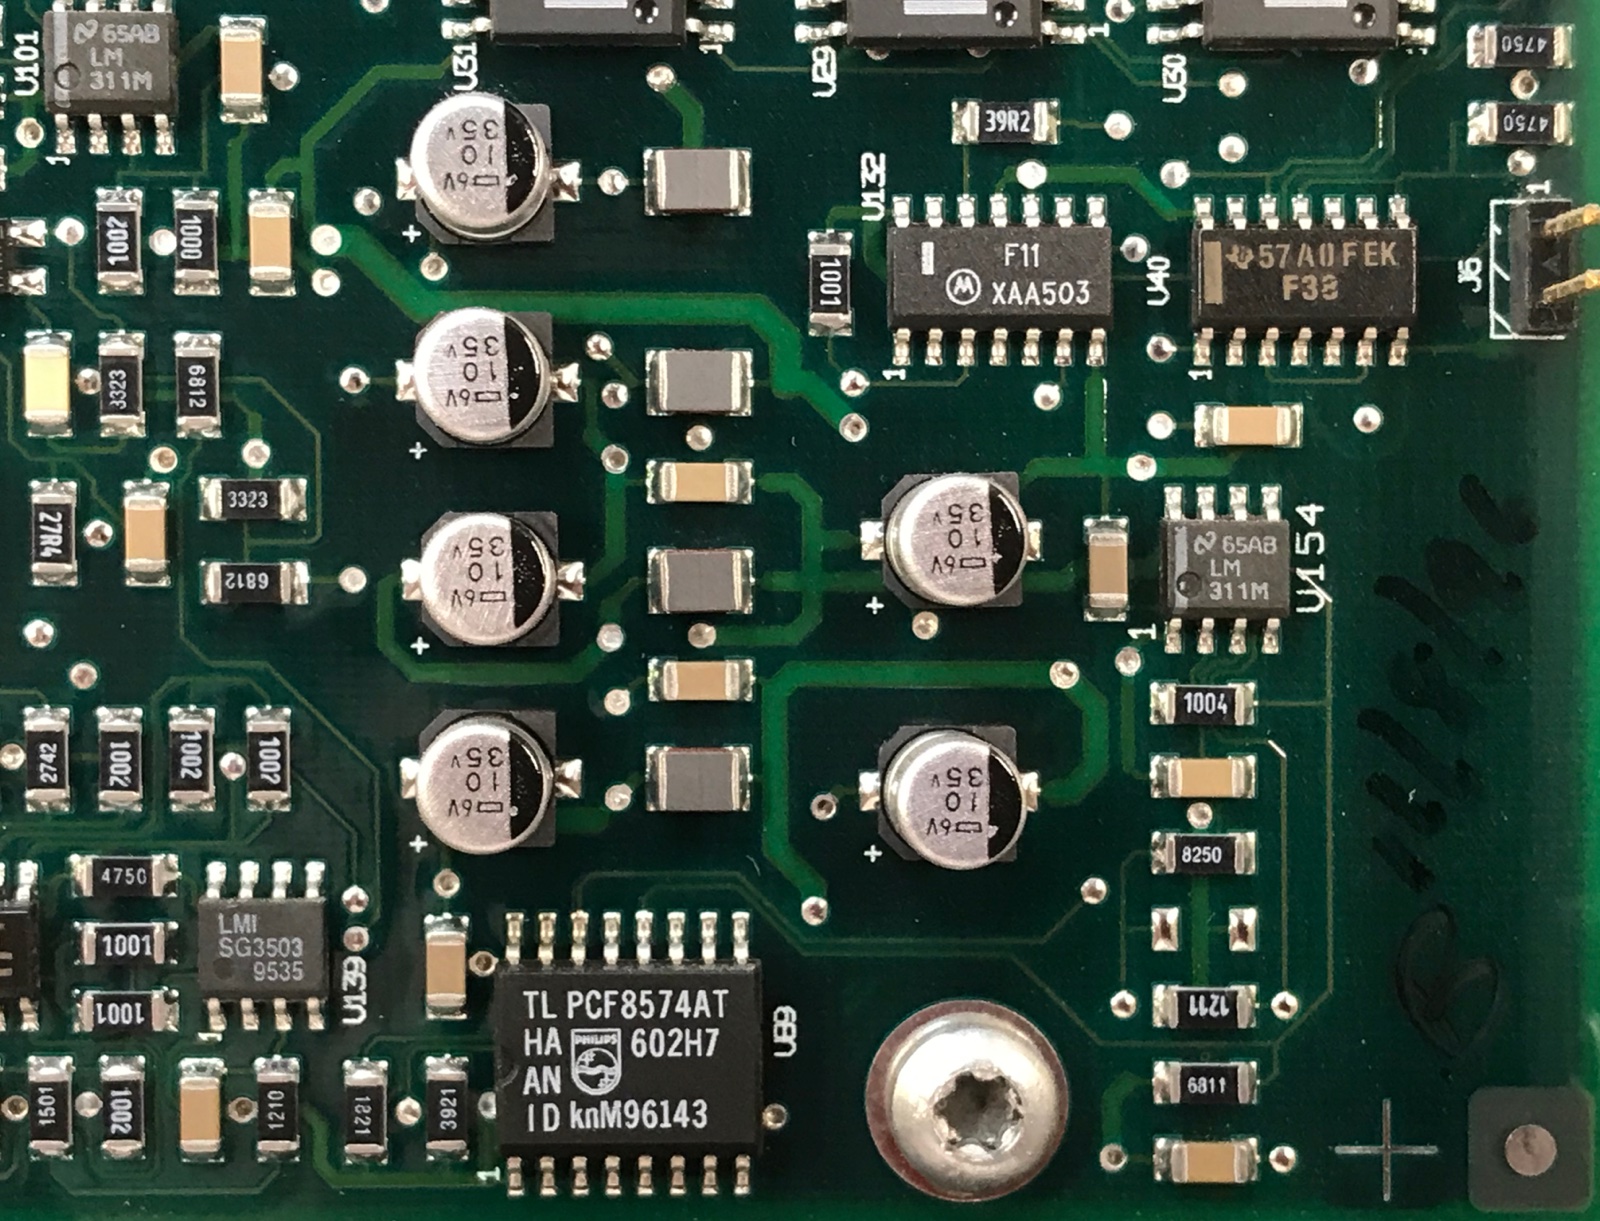
There are no markings on the outside of the scope that indicate a production date. However, the bootup screen says “Copyright 1991-1996” and on the image above, you can see a handwritten date of what seems to be “11/8/96”.
This commenter on EEVBlog has the following to say to a fellow TDS 420A owner:
Your oscilloscope says ‘copyright 1996’. That means it is a later model which doesn’t have the leaky capacitors. I’d leave the oscilloscope as it is.
And that’s exactly what I’ll do!
For those who aren’t so lucky, here are some repair videos that I found useful:
-
Recapping Tutorial - how to replace old, leaky surface mount electrolytic capacitors
Repairs an old Mac PCB, but the principle is of course exactly the same.
-
Electrolytic Capacitor Removal NO Desoldering Required
A much faster way to remove these old capacitors.
-
Tektronix TDS 540A oscilloscope repair
A tougher repair that goes beyond just replacing caps, requiring bodge wires to fix traces that were corroded away.
Option Hacking to 120K?
Tektronix oscilloscopes of that era use NVRAM to store information about which options are enabled.
And just like with some Rigol or Siglent scopes, if you know what you’re doing, there are ways to non-invasively change these configuration values and install new features for free.
The TDS 420A doesn’t have many options available that would move the needle in terms of general usefulness… except for option 1M, support for 120K sample points.
A closer look at the acquisition PCB shows 2 large ASICs that are surrounded by 16 Cypress chips of type CY7C199-20. Those are 32K x 8 SRAM chips with an access time of 50MHz.
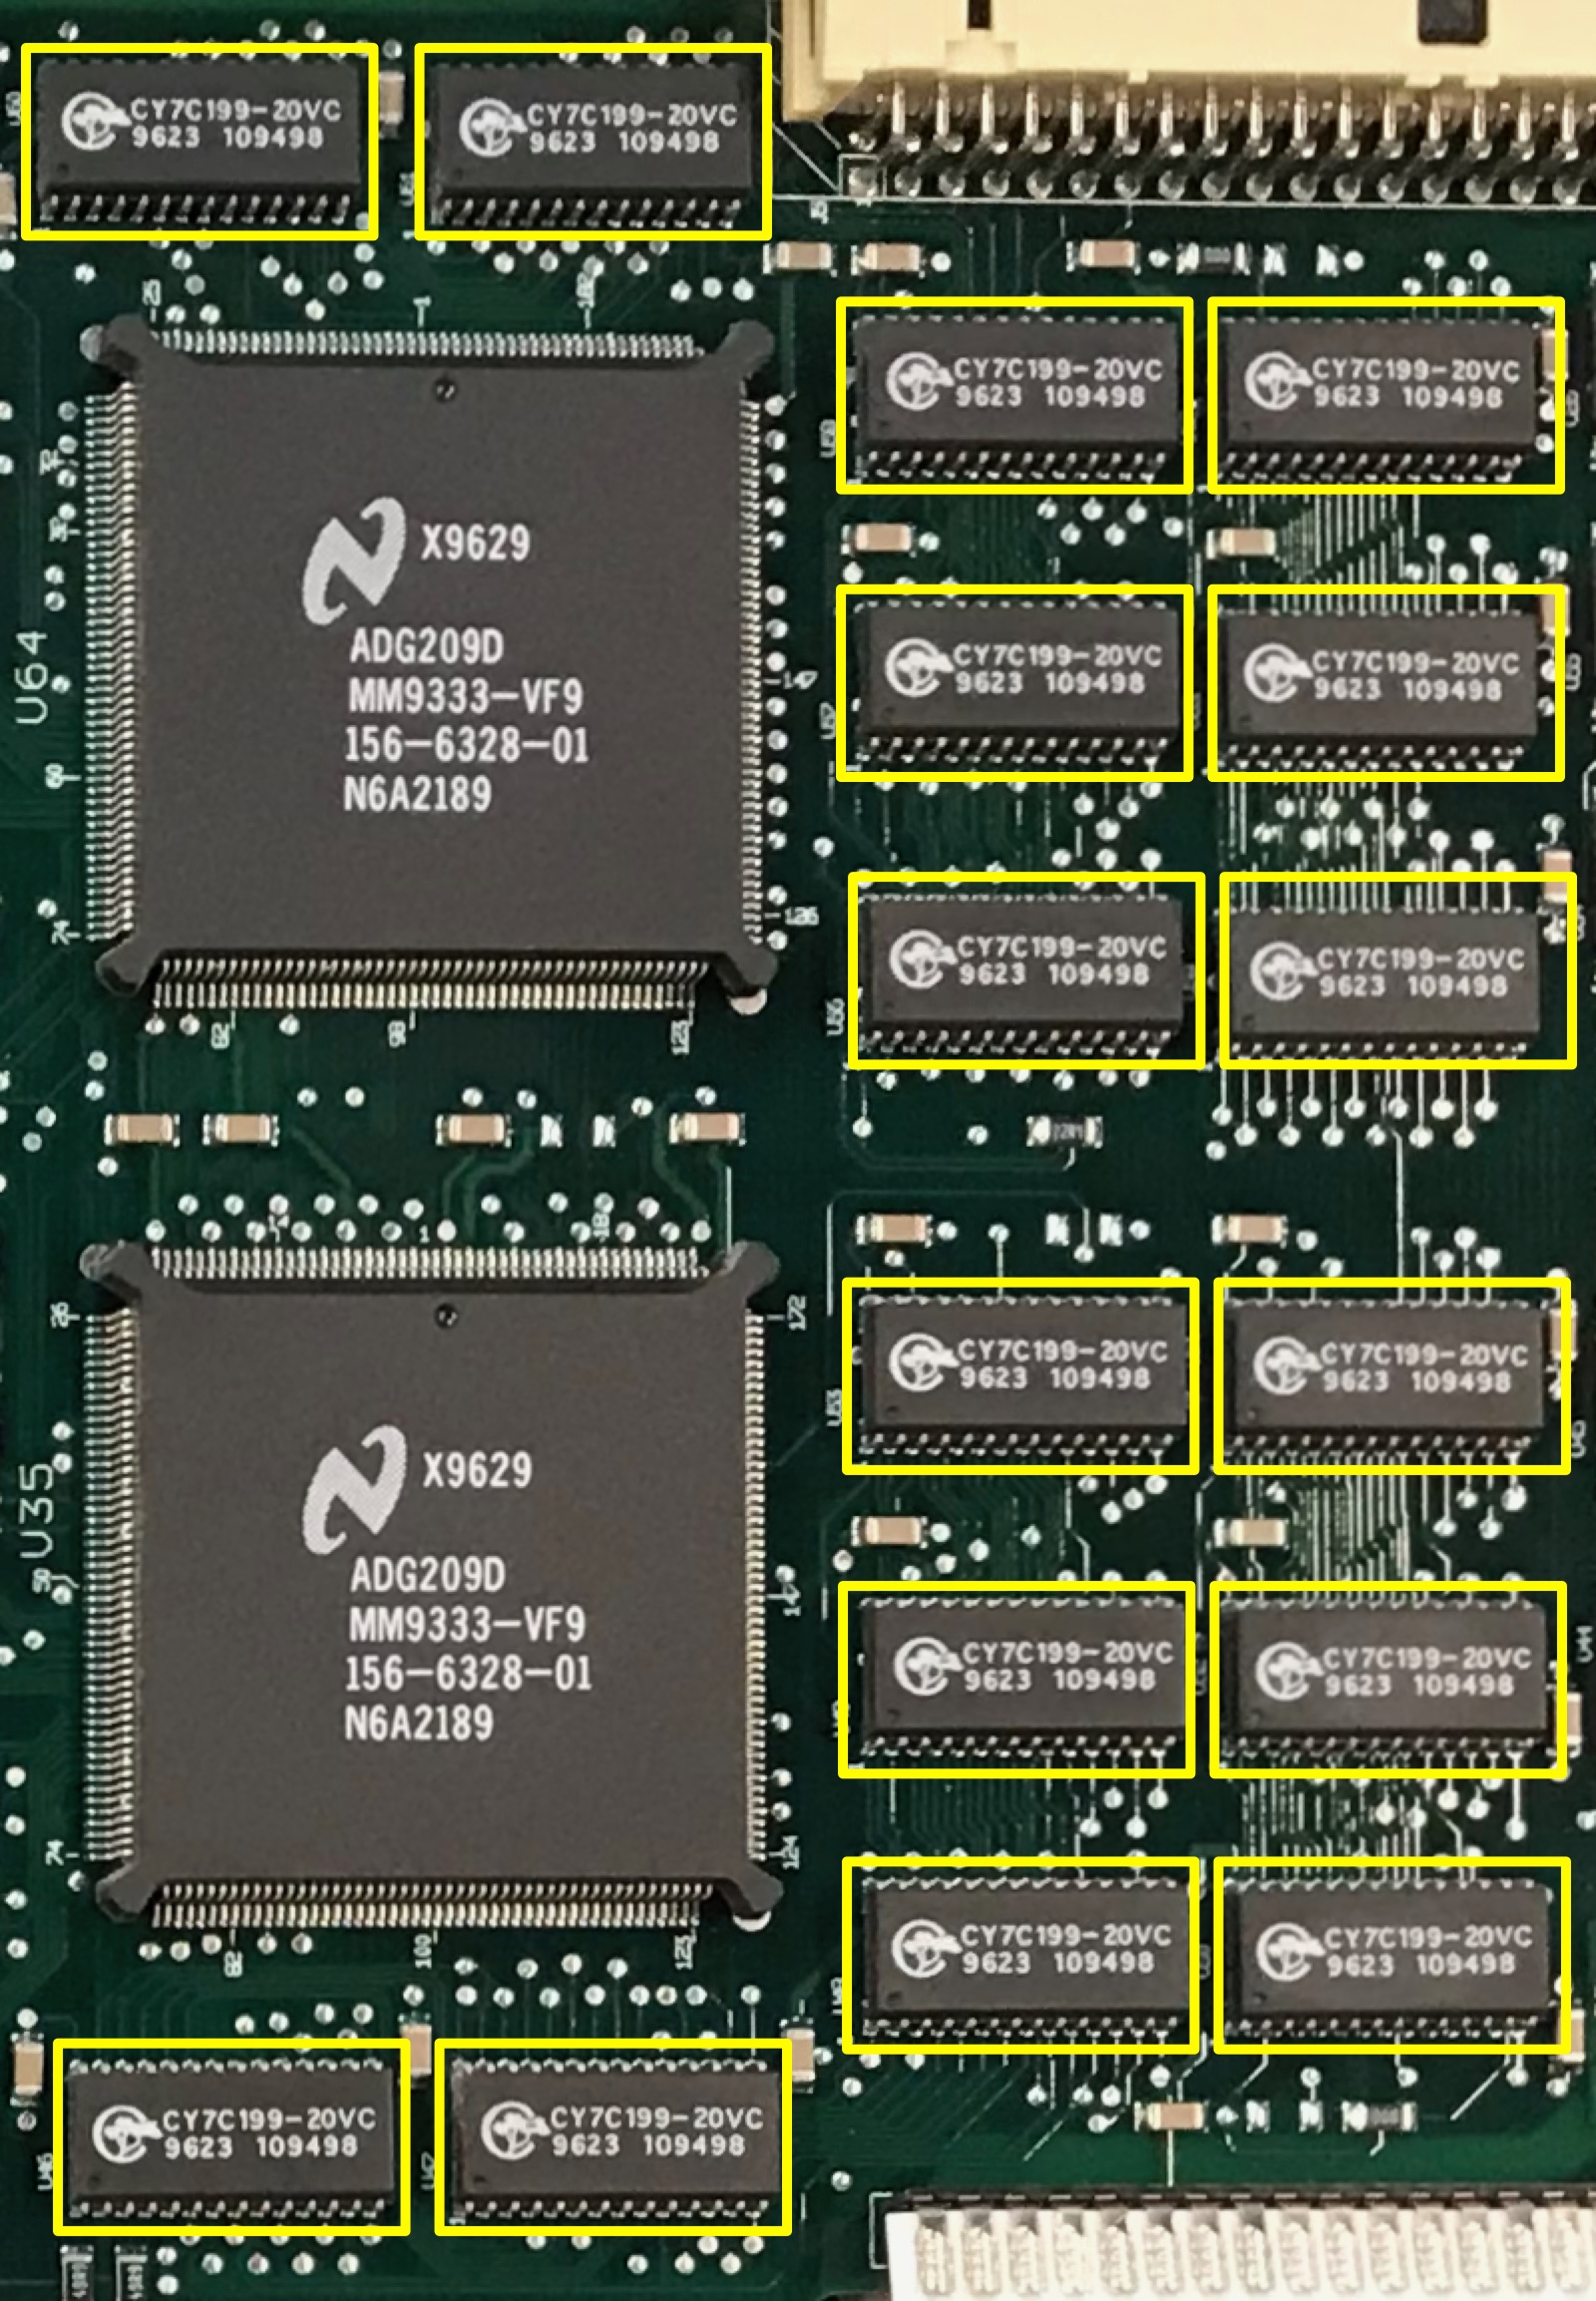
16 x 32K = 512KB / 4 channels = 128 Kb per channel.
There’s little doubt that the acquisition board has enough memory to store 120K sample points.
And since there are 4 chips per channel, interleaving accesses to this memory is sufficient to store samples at a rate of 100MHz even when the individual chips are limited to 50MHz.
Whether or not it’s possible to hack the scope and tickle it into enable 120K samples points is something to explore later.
Documentation
Tek scopes are used for decades and Tektronics cares about its customers. 29 years after introduction, most manuals and programming guides are readily available on their website. And if some of the more obscure information isn’t there, some other website probably has a copy.
- TDS410A, TDS420A & TDS460A User manual (PDF link)
- TDS Family Digitizing Oscilloscopes Programmers Manual (PDF link)
- TDS410A, TDS420A, & TDS460A Technical Reference - Performance Verification and Specifications (PDF link)
- TDS420A, TDS430A & TDS460A Service Manual (PDF link)
- TDS Family Option 13 RS-232/Centronics Hardcopy Interface
- TDS Family Option 2F Advanced DSP Math (PDF link)
Various Related Youtube Videos
-
Tektronix TDS 420A Oscilloscope Teardown
A bit long-winded, but does a full teardown and goes over all the components.
-
Tektronix TDS420a Oscilloscope Repair (Replace CPU Board)
Short video that simply swaps out the CPU board.
-
Tektronix TDS-460 (400 series) Oscilloscope Power Supply Repair
Details about how to fix components on the power supply board.
-
Junk Box Oscilloscope, Can It Be Fixed?
Assembles a TDS420 (not a TDS420A, but it’s pretty much identical) from individual pieces.
To Be Continued…
I have a bunch of hobby projects in mind for this thing: remote control over GPIB, glscopeclient support, trying to enable more features etc.